

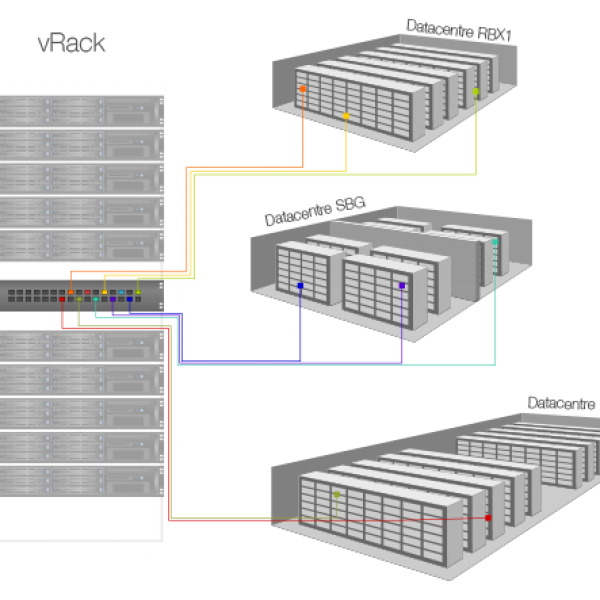
Setting up a vCenter solution at OVH. Discover vCenter integration in the vRack. A very simple solution to get started with!
Real-world use case
You want to isolate your vCenter infrastructure within OVH's private network: here's how to set it up in the vRack.
VMware vCenter in OVH's vRack
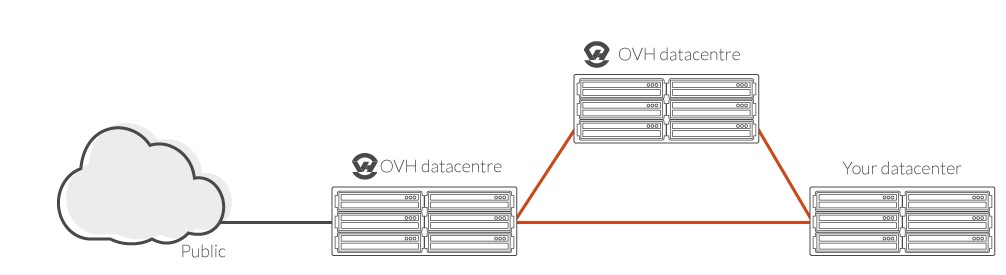
Integrating VMware vCenter in a datacenter is particularly simple. Host provider OVH offers a virtual interconnection technology called vRack. The servers become part of the same network and can be geographically separated:
To configure vCenter, we'll use the template provided by VMware called: VMware vCenter Server Appliance.
We have two very simple technologies to implement, requiring little expertise.
Warning! Before starting, some software and hardware prerequisites are essential!
- VMware vCenter Server Appliance with a valid license or a provided one (60-day trial).
- Several compatible dedicated servers integrated into the vRack, type Infrastructure server (help: creation and management).
- Have an IP block and integrate it into the vRack (optional).
Thinking through the overall solution:
You'll need at least 2 EG-32 servers to build a simple vCenter infrastructure at OVH.
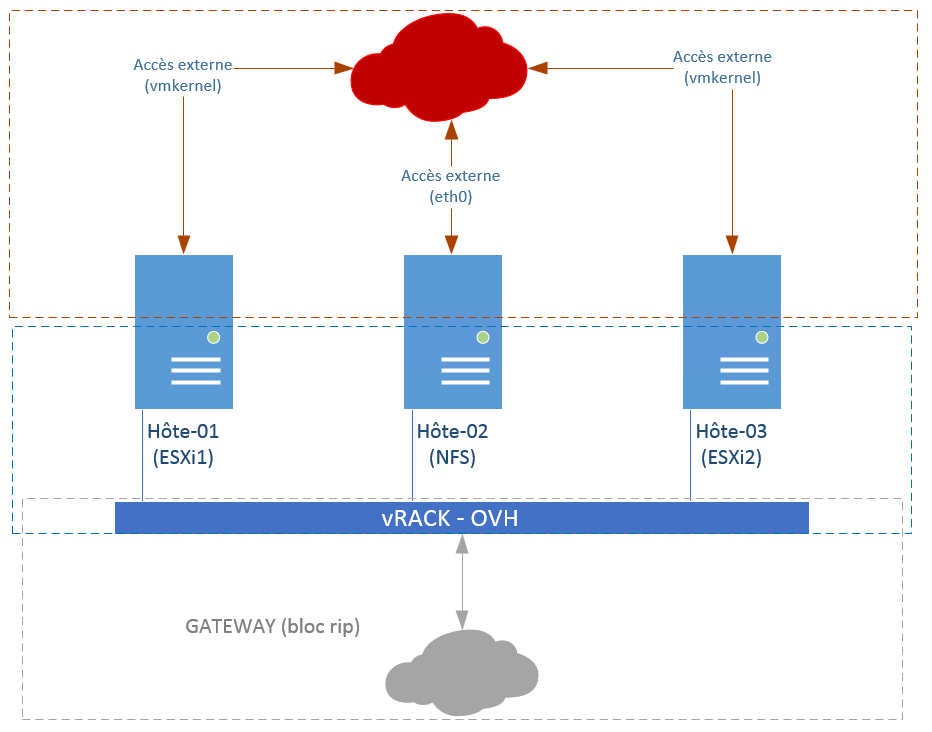
Both ESXi hosts will be active and geographically different; they'll share an NFS network datastore.
An illustration of the intended setup:
- Host 1: VMware ESXi version 5.5 installation named ESXi1.
- Host 2: Debian 7 distribution installation named: NFS.
- Host 3: VMware ESXi version 5.5 installation named: ESXi2.
I won't cover installing and configuring host-2 (NFS) in this article.
vCenter networking
Go into ESXi1 and ESXi2: configuration/networking and add a VMkernel port on the vmnic1 card.
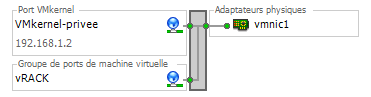
Here's our solution's addressing:
192.168.1.2 : VMkernel on host-1 (ESXi1)
192.168.1.3 : VMkernel on host-2 (ESXi2)
192.168.1.4 : VMware vCenter Appliance IP
vCenter Virtual Appliance: installation and configuration
Let's start by integrating the brains of the operation: vCenter, inside our vRack.
Before starting, be sure to grab the template from VMware's website with your account, address available here.
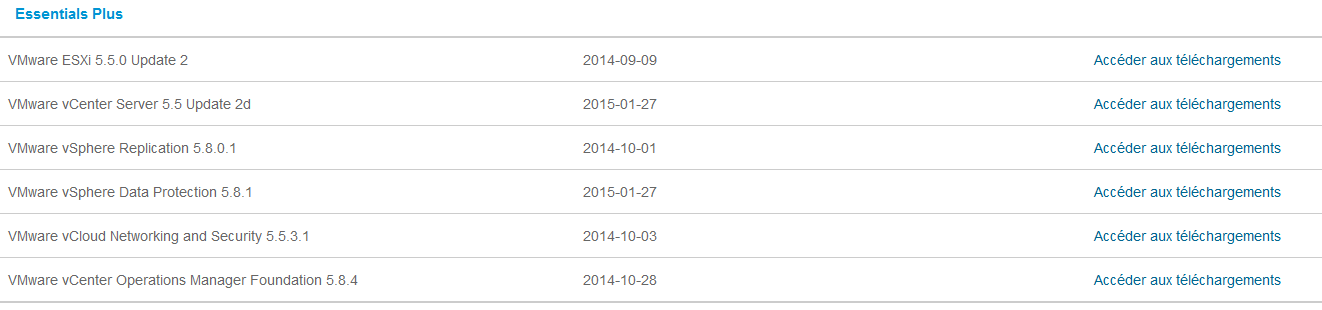
- My VMware/Downloads/All downloads/My products/vSphere 5 Essentials Plus, click download.
With the Essentials Plus kit, I have access to vCenter Server 5.5 U2d, click Go to downloads:
The vCenter Server Appliance appears in OVA format, download it by clicking Download now:
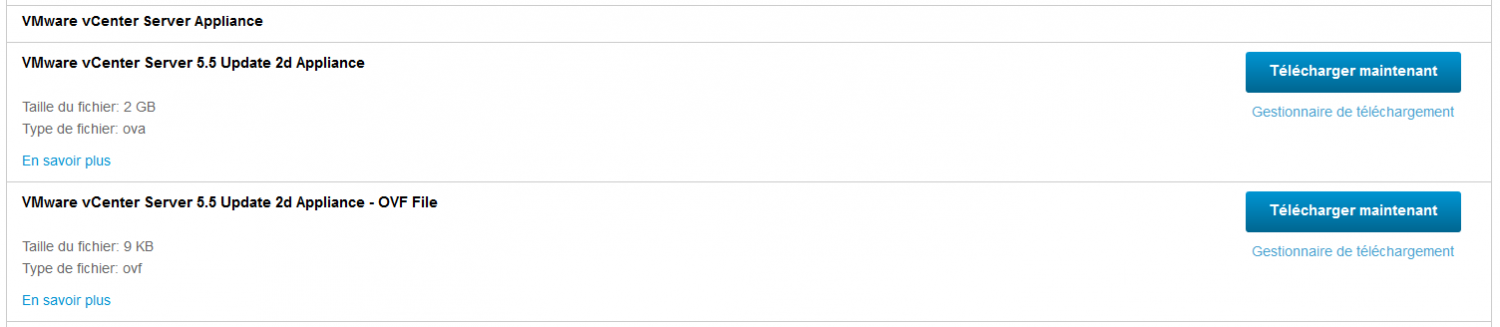
Appliance version: 5.5.0.20400-2442330_OVF10, remember to check the md5: 35982bf2ad05a1dcbda502e33cfc5e4a

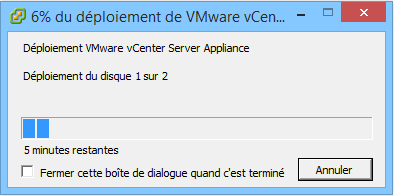
The appliance is deployed via the vSphere client software on Windows in: Files and Deploy OVF Template.
Follow the instructions, deploying the template takes a while:
You'll need to edit the VM's settings to add the network card to the port group: vRack, then start it.
On first boot, it looks for a DHCP server, but I'm not running one. So follow the instructions shown in red:
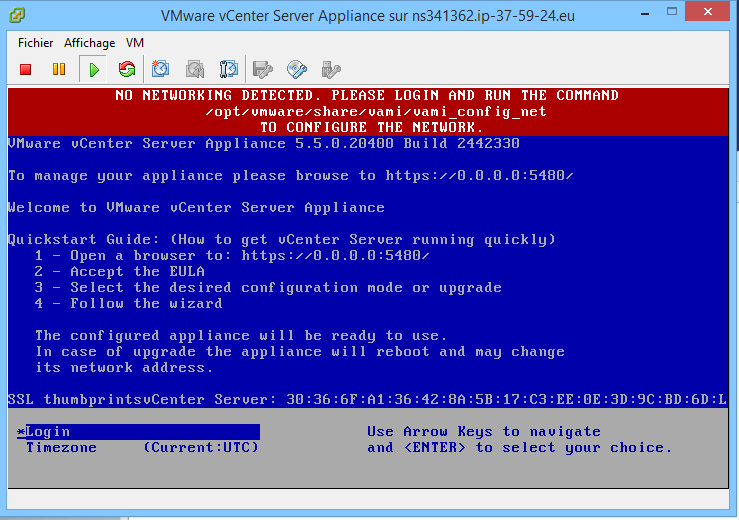
Press Enter to log in, the credentials are root, password: vmware (careful, the keyboard is in qwerty layout: so type v;zqre*)*. Run the following command:
/opt/vmware/share/vami/vami_config_net
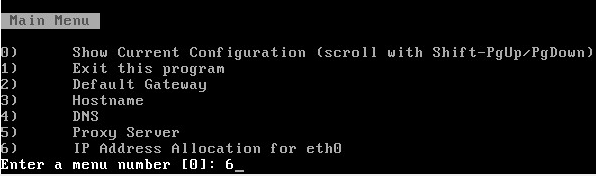
A menu appears: go straight to option 6 to configure the network card:
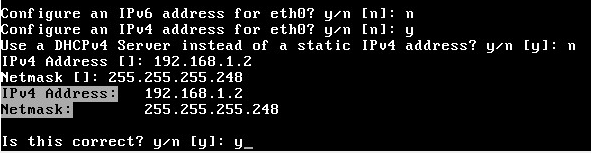
Adding IP settings, example below: (screenshot error => IP: 192.168.1.4, not 192.168.1.2).
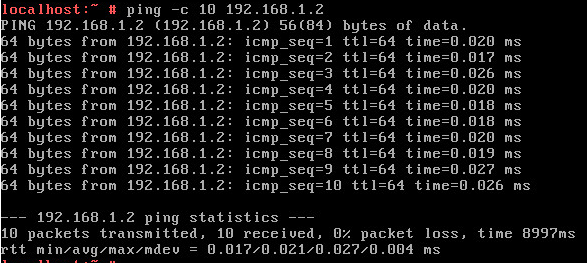
To exit the menu, select option number 1, then check that we can communicate properly with the ESXi1 server:
Close the terminal with the exit command. The address: https://192.168.1.2:5480 appears.
From a machine on your network, connect to it to configure the Appliance:
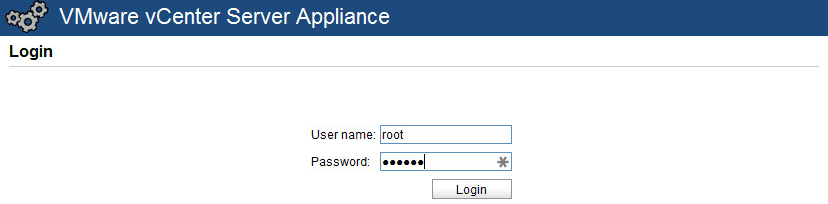
Then you'll need to accept the license: Accept License agreement for using VMware vCenter, in order:
- Customer experience improvement program: which I left unchecked.
- Configure options: select the configure with default settings option.
- Database settings, SSO settings, AD settings, Time Synchronization are configured by default.
- The summary now appears, leave it as is and click Start.
The whole installation finishes with the following messages:
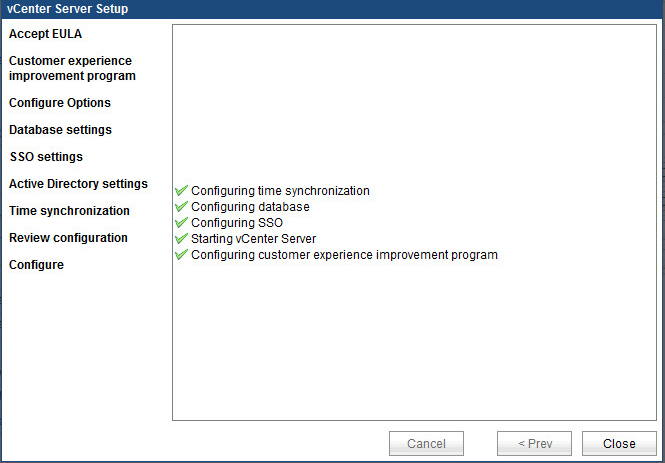
At this point, you can connect to vCenter via the vSphere client or the vSphere Web Client!
I strongly recommend changing the password by going to the appliance's management interface (:5480), in the Admin section, and once changed, the following message appears: Operation was successful.
VMware vCenter: First connection
Info: You absolutely need Flash Player version 11.5.0 or higher. No problem on Windows, but on Linux version 11.5.0 doesn't exist: the solution is to use Google Chrome, which natively bundles an up-to-date Flash.
Worth reading: Why Flash is a **** technology
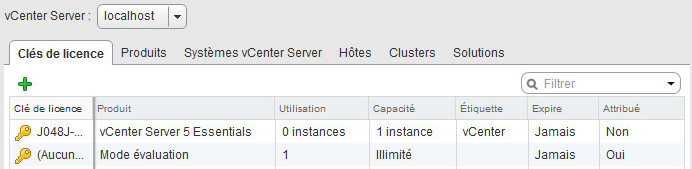
As soon as you first connect to the vSphere Web Client, a popup appears: "The license key will expire in 60 days."
If you have a key: go to Administration/licenses, then click the + button:
Next, simply add our ESXi1 and ESXi2 hosts to our vCenter infrastructure by following the instructions: "Your inventory is empty. To get started, create a datastore and add hosts. Click here."
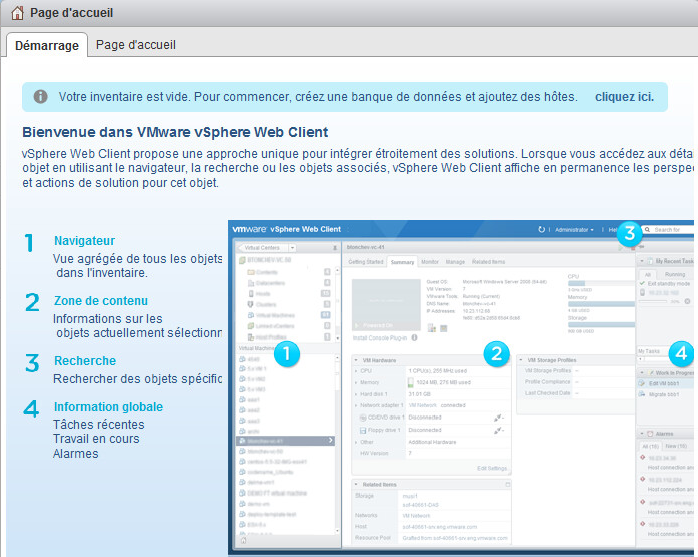
The famous "Click here" redirects us to our vCenter server's localhost and explains what a datacenter is.
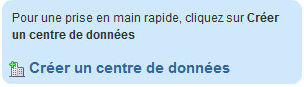
We simply continue by clicking "Create datacenter":
Decide on a name for your datacenter, then you now need to add your different hosts. Here's the catch: I want to add a DNS name instead of an IP, and I don't have a DNS server, so I add it to the hosts file:
nano /etc/hosts
localhost vcenter.vrack
192.168.1.2 esxi1.vrack
192.168.1.3 esxi2.vrack
192.168.1.4 vcenter.vrack
Now hosts can be added via a DNS name! Once set up, here's our vCenter infrastructure in the vRack:
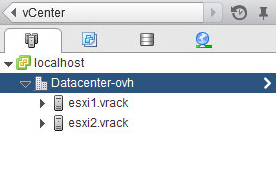
Success! Enjoy your vRack and VMware vCenter technology!
Conclusion
This article detailed setting up VMware vCenter Server Appliance in OVH's vRack, from deploying the OVF template and its network configuration to creating the datacenter and adding ESXi hosts via local name resolution. This integration remains simple to set up and lets you supervise several geographically separated ESXi hosts within the same private virtual network. It provides a solid foundation for building a redundant virtualization infrastructure with this host provider.