


Deploy the best of Android with CyanogenMod 11. The most polished Android fork, one Google keeps a wary eye on. CyanogenMod 11 on the Google Nexus 4.
Real-world use case
You want to go beyond your Nexus 4's stock firmware: here's how to install CyanogenMod 11.
CyanogenMod
CyanogenMod 11 is a free, alternative system running on Android.
For some time now, it has been released under the GPL license, by Cyanogen Inc.
Its alternative OS owes part of its success to respecting private data.
It can be used on smartphones and tablets (70 models available):
For more information, check out CyanogenMod's community site.
The device used for this article is a Google Nexus 4 on the official version 4.4.3.
Steps to get CyanogenMod 11:
Before you start, here are the steps needed to install the ROM:
- Get full access to the system files on the Google Nexus 4 with the "Nexus Root Toolkit" tool.
- Install two apps via Google Play: "Rom Installer" and "Root Browser".
- Flash the Google Nexus 4's "recovery mode" with "ClockWorkMod".
- Download "CyanogenMod 11" and "Google Apps" with "Rom Installer".
- Boot into recovery mode, then install "Cyanogen" and "Google Apps" with "CWM".
- Reboot the Google Nexus 4 smartphone and discover the "Cyanogen" environment.
Nexus Root Toolkit
Full access to the Nexus 4's system files is obtained with the "Nexus Root Toolkit".
Download the Nexus Root Toolkit and install it on your computer.
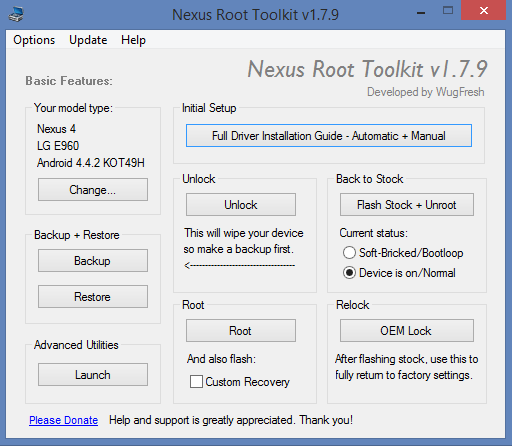
Run it, and it will download "openrecovery" and "superSu", after which the following window will appear:

The software isn't hard to use and makes "rooting" Nexus devices easier.
Before clicking "Root", you need to install your Android device's USB drivers.
There are several methods, up to you to choose (enable developer mode):
- With the "Full Drivers Installation Guide – Automatic + Manual" option in the Nexus Root Toolkit.
- Manually, via the Windows device manager (provided disc): Nexus 4 drivers.
Once the device's drivers are installed, start "Root" in the Nexus Root Toolkit:
The whole process looks like the screenshots below (after clicking "OK")
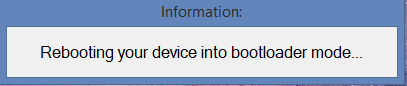
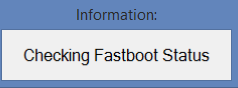
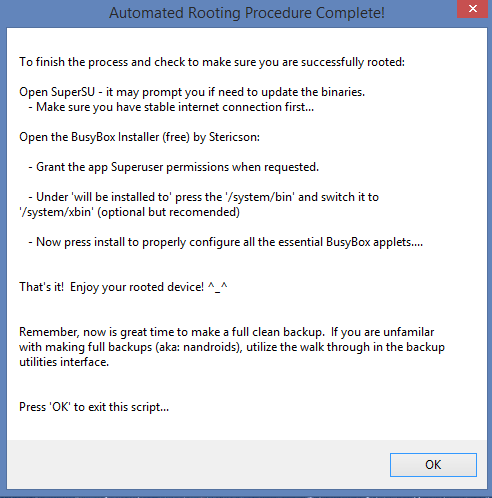
Once done, your Google Nexus 4 is "rooted". The "superSu" software is installed.
The recovery on your Nexus 4 device is flashed with "TWRP" software.
Deploying CyanogenMod with Rom Installer

Here's the app that makes deploying a ROM easier.
It's available on Google Play: Rom Installer
For more information, go to "Rom Installer".
Once in the "Rom Installer" app, select the "Flash Recovery" menu and install "CWR".
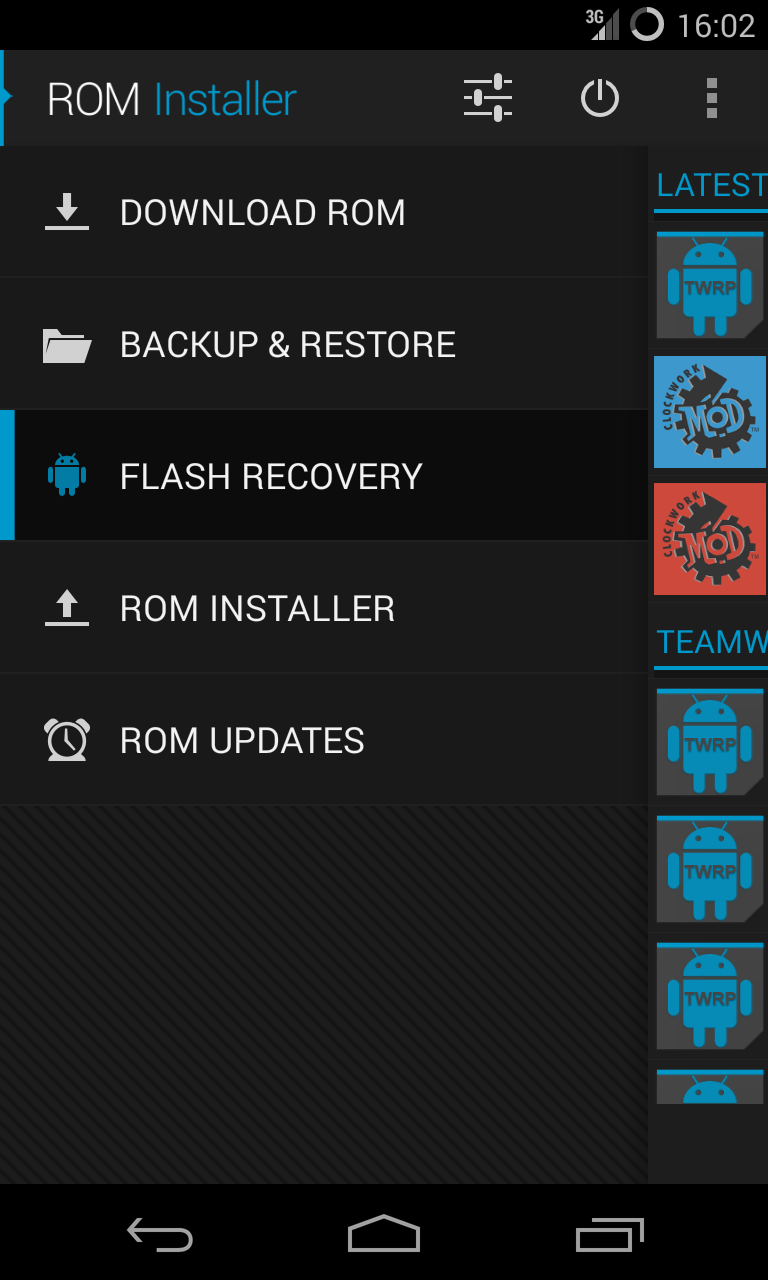
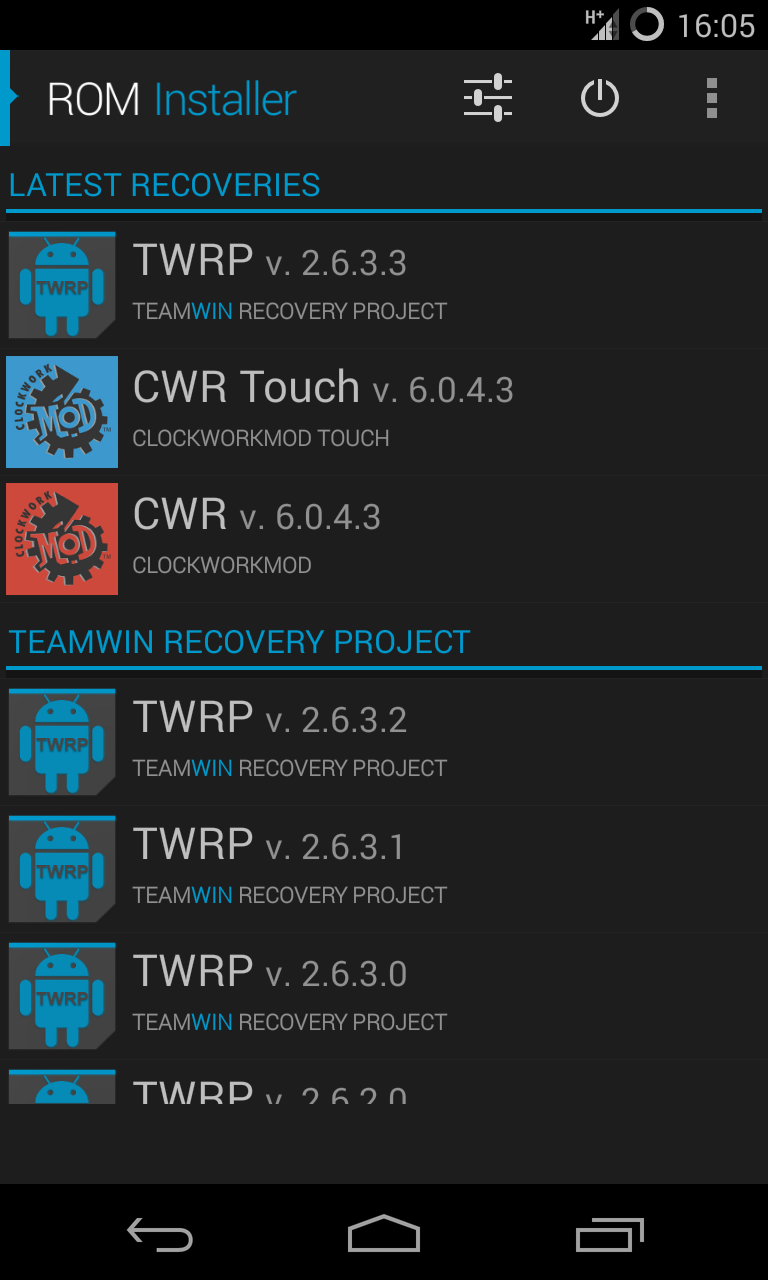
Now we'll be able to download our "CyanogenMod 11" ROM.
In the menu, select "DOWNLOAD ROM", then "CyanogenMod Nightly".
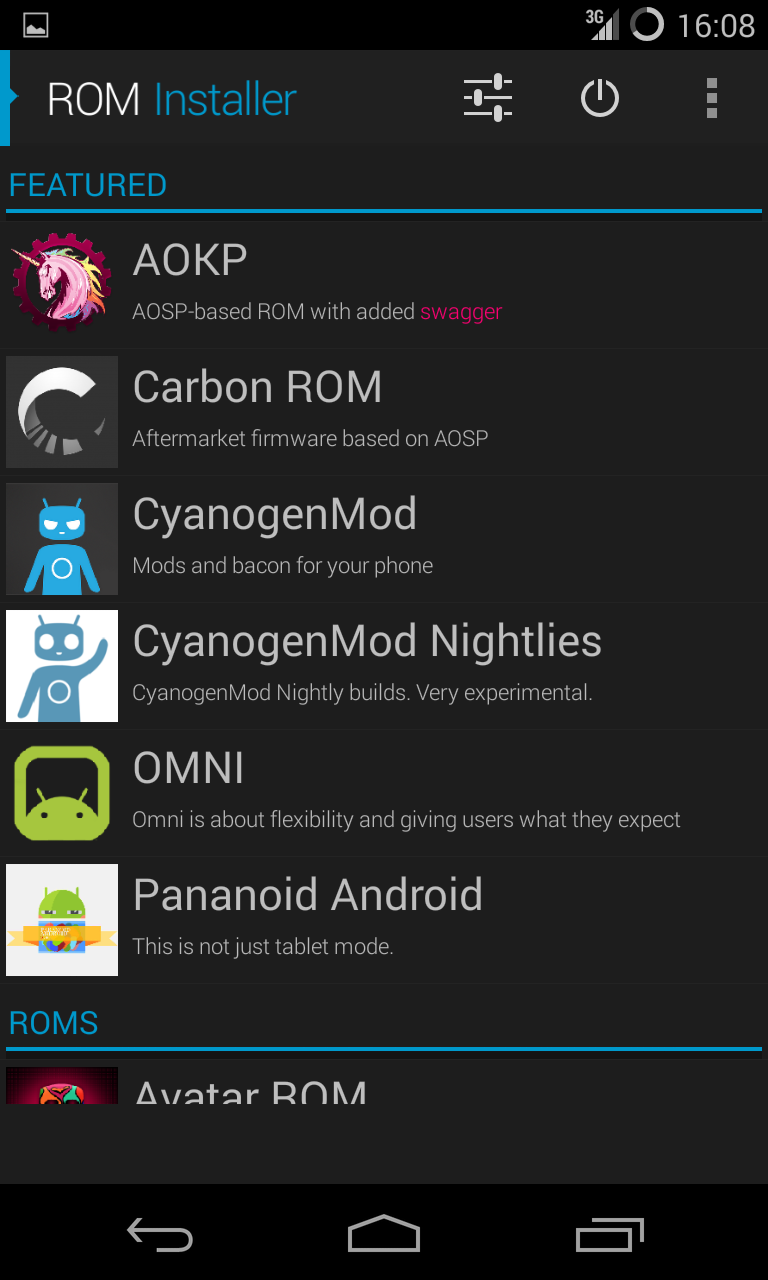
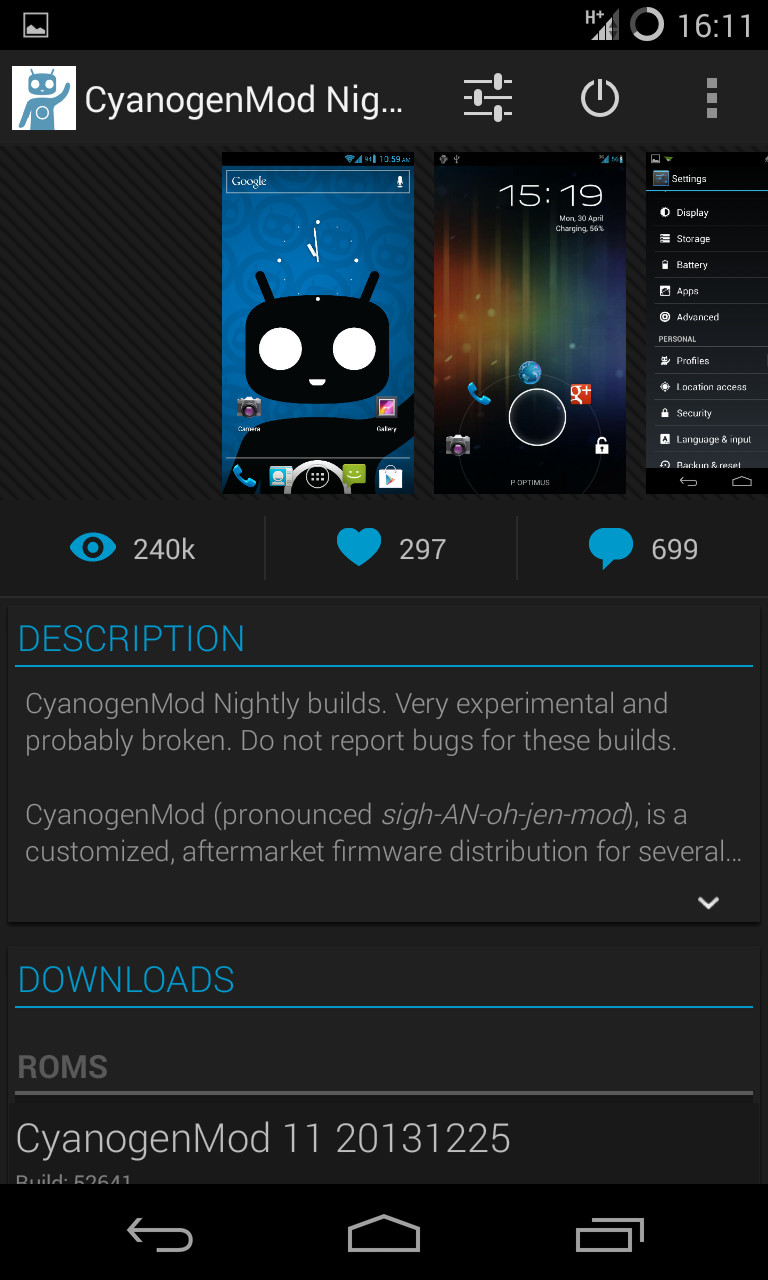
Download the "CyanogenMod11" ROM and the "Google Apps" pack.
Then go to the menu and click on: "ROM INSTALLER", and select both zip files: once the .zip files are selected, tap OK
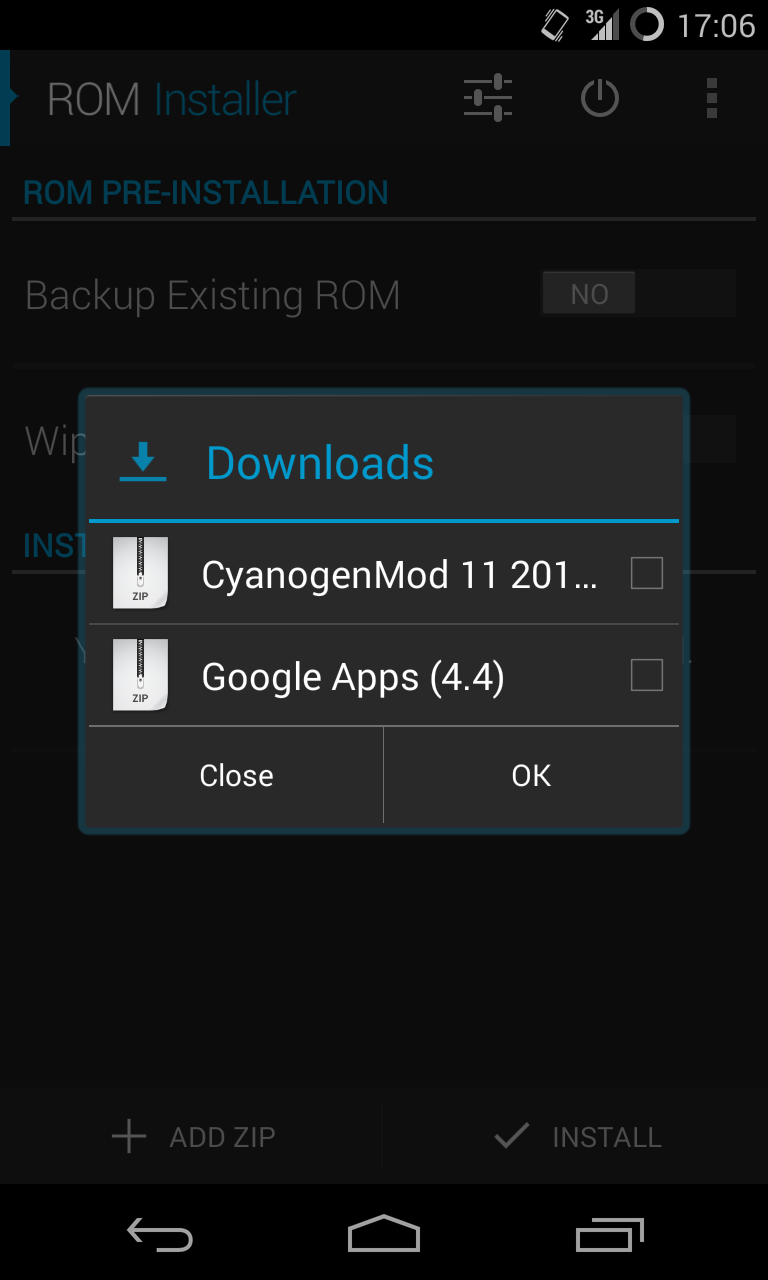
The Nexus reboots and ClockWorkMod launches (a menu with a gray background appears).
Go to "Install ZIP", then "choose zip from /sdcard":
CyanogenMod 11 nightly:
/sdcard/0/romtoolbox/downloads/download2.clockworkmod.com/gapps/gapps-ll-20131208.zip
Google Apps for CyanogenMod 11:
/sdcard/0/romtoolbox/downloads/get.cm/get/jenkins/52523/cm-11-20131224-NIGHTLY-mako.zip
Start installing the zip files with "CWM" and do a "reboot system now".
Congratulations, the Google Nexus 4 is now running CyanogenMod 11!
Here's the CyanogenMod environment on a device: "Oppo".