


Deploy Veeam Backup & Replication on Windows Server 2016 Core. Discover two management methods, from the console or via PowerShell.

Real-world use case
You want to back up your infrastructure from a minimal Windows server: here's how to deploy Veeam Backup & Replication on Windows Server 2016 Core.
Veeam Backup and Replication 9.5
Veeam Backup & Replication is a complete backup solution made up of several modules, initially designed to meet virtualization needs. Earlier this year, Veeam For Linux came to strengthen Veeam's offering by integrating it into Backup & Replication. Today, I'd like to share my experience and walk you through installing and managing Veeam Backup Server 9.5 on Windows 2016 Core.
We'll install Veeam Backup & Replication on Windows 2016 Core.
Table of contents:
- Installing Veeam Backup on Windows 2016 Core
- Installing Veeam Console on Windows 7
- Installing the VeeamPS Snapin in PowerShell
- Conclusion
Installing Veeam Backup on Windows 2016 Core
Let's download Veeam Backup & Replication from our Veeam account.
In the meantime, we create a domain user specifically for Veeam Backup:
New-ADUser -Name "Veeam BACKUP" -GivenNaMe Veeam -Surname BACKUP -SamAccountName veeambackup -Ac
countPassword (Read-Host -AsSecureString "AccountPassword") -PassThru | Enable-ADAccount

AccountPasssword : ***************************************
Let's add the veeambackup user to the Domain Admins group:
Add-GroupMember "Admins du domaine" veeambackup
To check the user's group memberships:
Get-ADPrincipalGroupMembership veeambackup
Our ISO image is directly on the server, here's the following command to mount it:
Mount-DiskImage -ImagePath ‘C:VeeamBackup&Replication_9.5.0.1038.Update2.iso’ -StorageType ISO -PassThru
To find out the drive letter containing the Veeam Backup & Replication image:
Get-PSDrive -PSProvider 'FileSystem'
Once in the drive letter, let's run the Veeam Backup & Replication installation:
.Setup.exe
Core mode lets us launch the installation graphically:
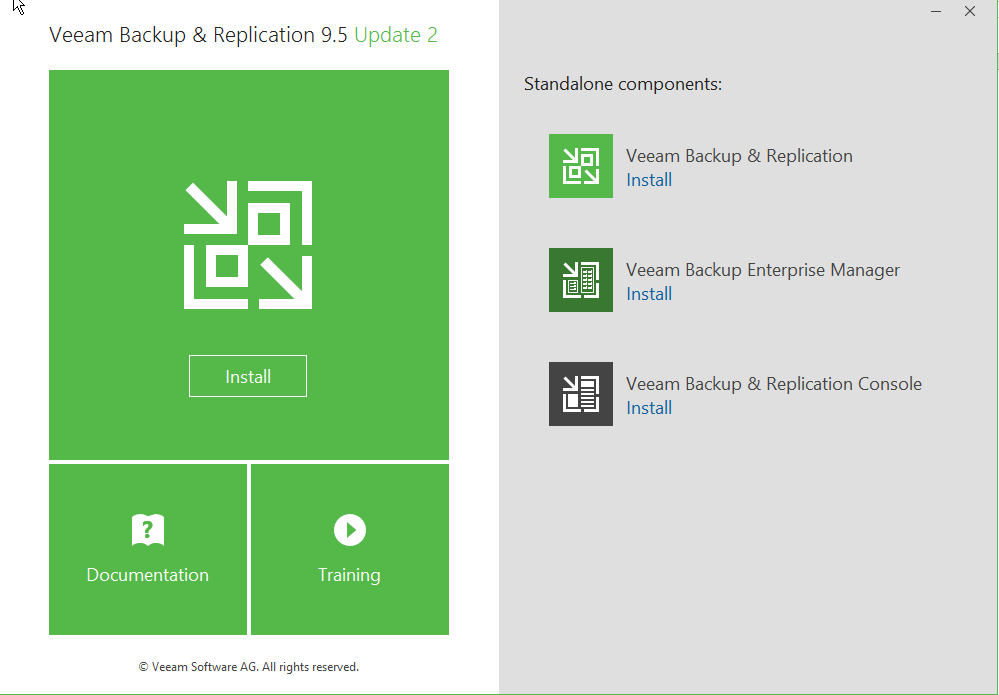
We start installing the Veeam Backup & Replication components:
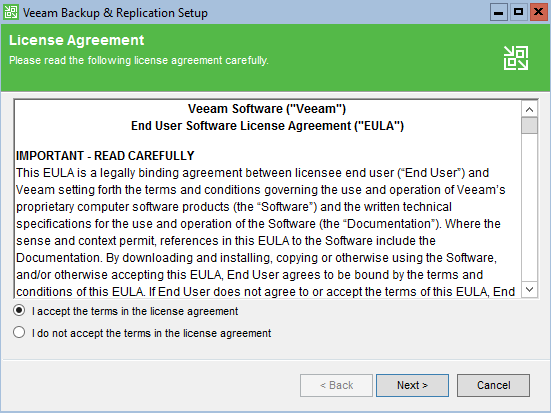
Once the license terms are accepted, the software then asks us to provide the license:
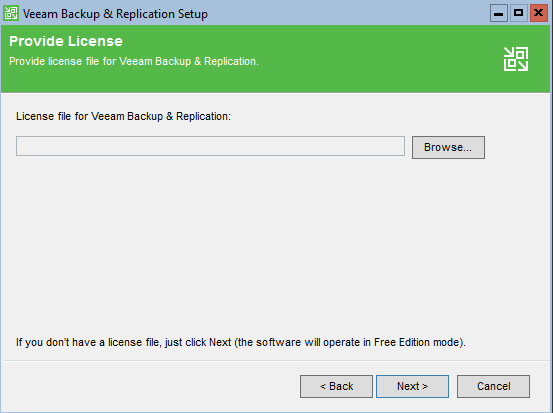
The Browse feature won't work, since the user experience isn't present in core mode.
So we continue our installation via the Next> button:
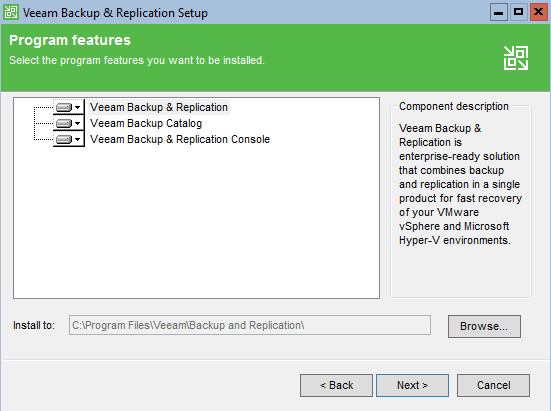
Let's accept the prerequisites installation:
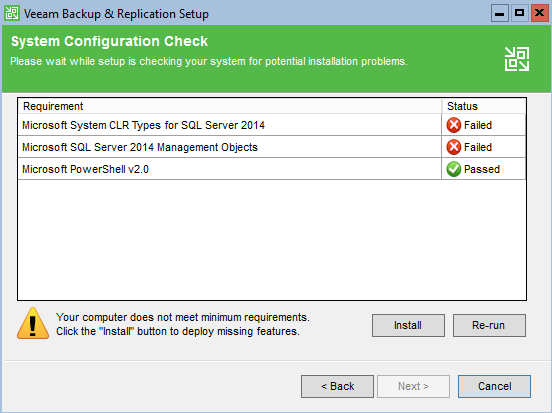
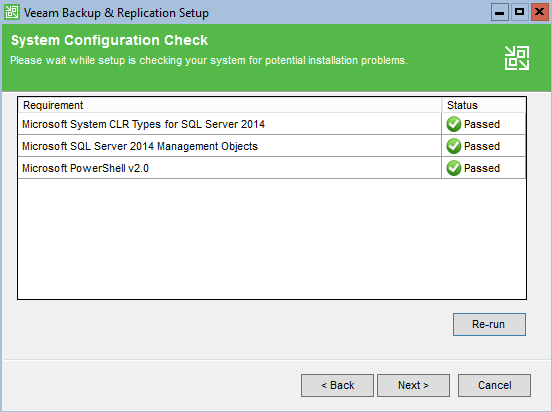
Once the dependencies are downloaded and installed, we can continue:
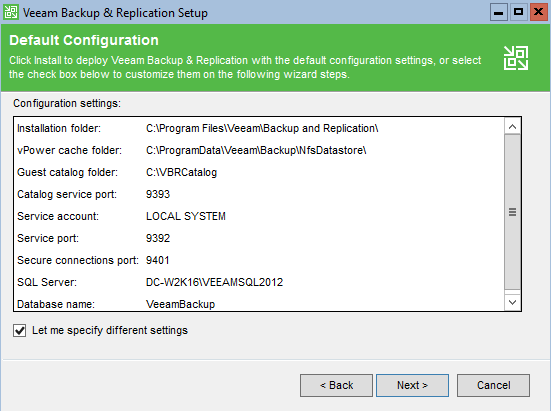
The default proposed configuration is as follows, let's just check the box at the bottom left:
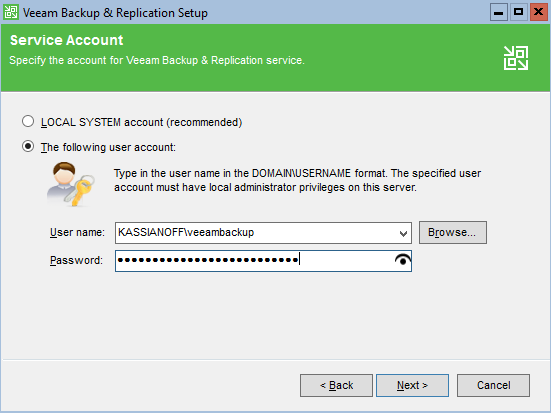
We're going to change a few settings, such as the service account:
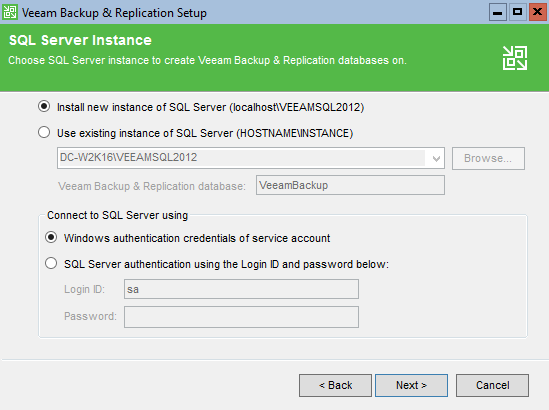
Let's continue, in my case I want a new SQL Server instance for Veeam:
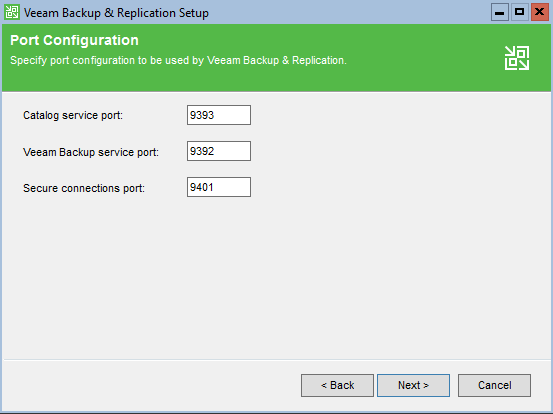
Similarly, we leave the default ports:
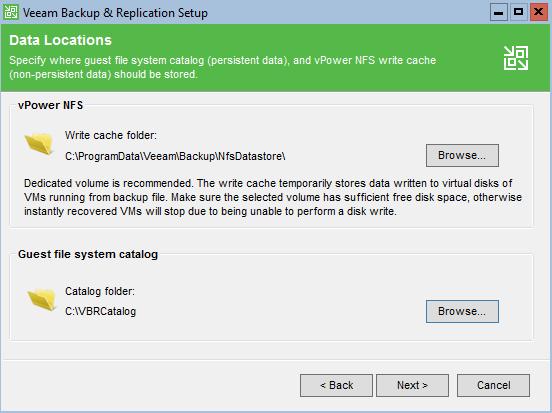
Selecting the location of the vPower NFS data and the Veeam catalog stays at the default:
Then, we come back to the summary of our completed installation:
https://content.kassianoff.fr/capture\_veeam\_br\_12.pngg
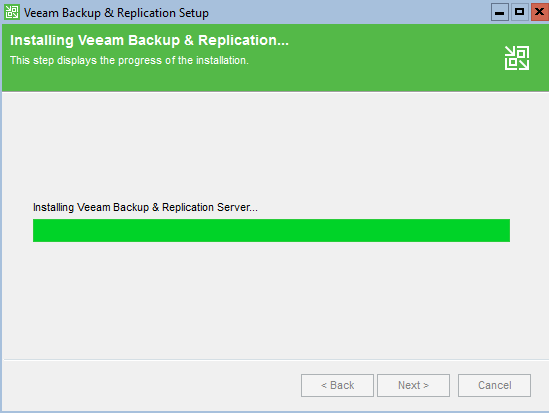
The installation is now underway:
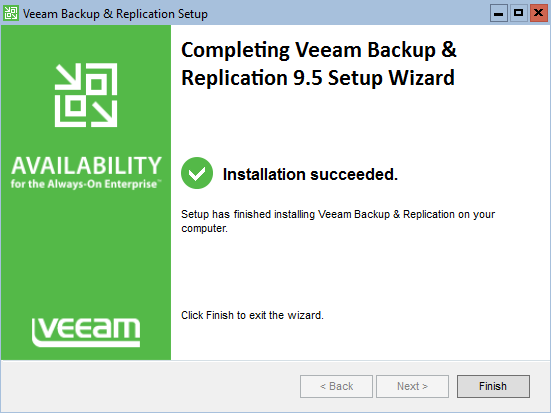
The installation is complete:
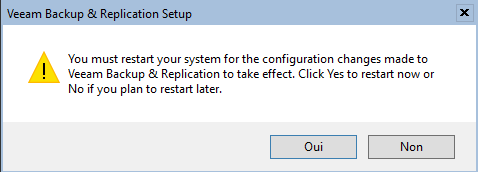
The server needs to be restarted for the Veeam Server services to start:
Once the server has restarted, let's list the active Veeam services with PowerShell:
Get-Service Veeam*

Status   Name               DisplayName
------   ----               -----------
Running  VeeamBackupSvc     Veeam Backup Service
Running  VeeamBrokerSvc     Veeam Broker Service
Running  VeeamCatalogSvc    Veeam Guest Catalog Service
Running  VeeamCloudSvc      Veeam Cloud Connect Service
Running  VeeamDeploySvc     Veeam Installer Service
Running  VeeamMountSvc      Veeam Mount Service
Running  VeeamNFSSvc        Veeam vPower NFS Service
Running  VeeamTransportSvc  Veeam Data Mover Service
It's now possible to manage Veeam Backup & Replication Server in two ways:
- Via a client compatible with the Veeam console (e.g. Windows 7).
- Via Veeam's PS snapin in PowerShell.
Installing Veeam Console on Windows 7
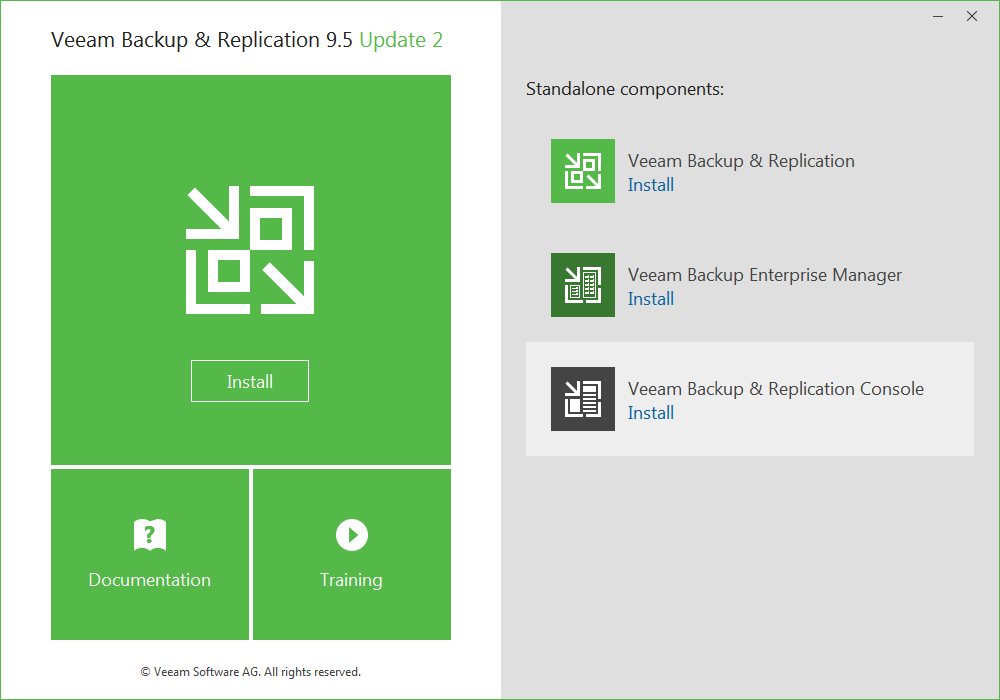
We'll install Veeam Backup & Replication Console only (usable with the user experience):
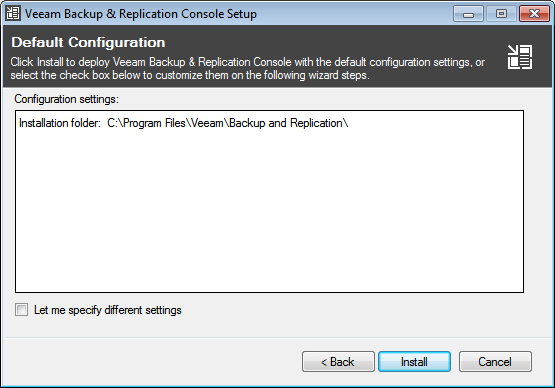
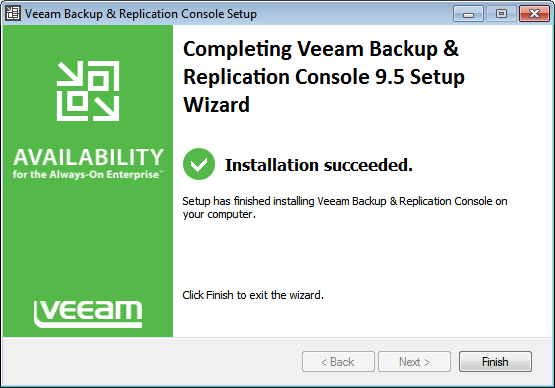
The steps are identical in every way to the core server installation, here's the end of the installation:
The installation is complete:
The Veeam Backup & Replication Console icon is available on the desktop to manage the server:
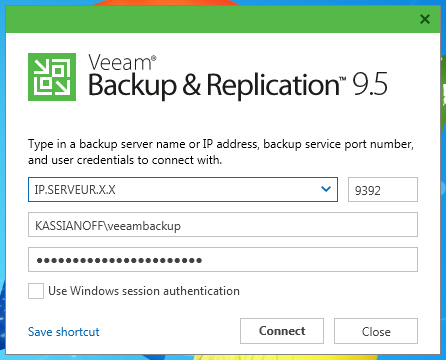
From here, all you need to do is install your license and start using the Veeam solution.
Installing the VeeamPS Snapin in PowerShell
CLI management is also available to manage the server(s) via PowerShell. I recommend installing the veeamPSsnapin tools on the server, for example:
Add-PSSnapin VeeamPSSnapin
The commands are located in the following path:
cd "C:Program FilesVeeamBackup and ReplicationConsole"
Listing the local Veeam Backup & Replication server:
Get-VBRLocalhost

Info               : This server (Microsoft Windows Server)
ParentId           : 00000000-0000-0000-0000-000000000000
Id                 : 6745a759-2205-4cd2-b172-8ec8f7e60ef8
Name               : DC-W2k16.kassianoff.local
Reference          :
Description        : Backup server
IsUnavailable      : False
Type               : Local
ApiVersion         : Unknown
PhysHostId         : d7c4ff97-b99b-4d1f-884d-283b7b6b9ee3
ProxyServicesCreds :
To list the active sessions on the Veeam Backup & Replication server:
Get-VBRServerSession

User                   Server   Port
----                   ------   ----
KASSIANOFFveeambackup DC-W2k16 9392
If you want to manage another Veeam server via the command line:
Connect-VBRServer -Server "ip.distante.x.x" -User "kassianoff.localveeambackup" -Password "your_password"
To disconnect the link to a server:
Disconnect-VBRServer DC-W2K16
To add a Windows backup server:
Add-VBRWinServer -Name "DC-W2k16" -user veeambackup -Password "your_password" -Description "Windows2016Core"
To add a Linux backup server:
Add-VBRLinux -Name "LinuxServer" -SSHUser "veeambackup" -SSHPassword "your_password" -SSHPort 22 -Description "LinuxServer"
Discover many more commands in Veeam's PowerShell reference guide.