


Discover ruTorrent's interface! A configuration with the Apache2 web server. Managing plugins, vhosts, security, and multi-user support.
Real-world use case
You want to manage your downloads from a browser: here's how to configure ruTorrent's web interface with Apache2.
The ruTorrent interface
ruTorrent is a web interface, or more simply a dynamic web page.
It brings the BitTorrent client named rTorrent (usable only in CLI) to the web.
We generally talk about the rTorrent/ruTorrent pair, and they're developed independently.
I discovered them in 2011 with version 3, free and performant, shape it in your own image!
Prerequisites for adopting ruTorrent
Before diving into installing this interface, you'll need a web server!
Also, don't forget that ruTorrent only works with the BitTorrent client: rTorrent.
I recommend having the following elements installed and working on your Linux server:
- The web server up and running: Apache2 (in our case).
- The BitTorrent client: rTorrent configured for a single user.
- An up-to-date Linux distribution, preferably a stable version (Ubuntu LTS for example).
One last thing: here are the required dependencies to install ruTorrent.
apt-get install subversion libapache2-mod-scgi
The subversion package will be used to install and upgrade ruTorrent, while libapache2-mod-scgi will let it interact with rtorrent.
The installation and configuration take place in the default directory: /var/www
Installing ruTorrent
The installation is very simple, we're going to download the repositories from SVN.
svn co http://rutorrent.googlecode.com/svn/trunk/rutorrent
Once the repositories are downloaded, we get the following file structure in the "rutorrent" folder:
conf css favicon.ico images index.html js lang php plugins share
- The "conf" directory contains all of ruTorrent's configuration, aside from plugins.
- The "css" directory contains ruTorrent's CSS rule configuration.
- The "images" directory contains all the favicons and various icons from ruTorrent.
- The "js" directory contains the JavaScript code that lets you modify how ruTorrent behaves.
- The "lang" directory contains 20+ different languages.
- The "php" directory contains the PHP code that drives the dynamic content display.
- The "plugins" directory is dedicated to ruTorrent's plugins, there are a ton of them!
- The "share" directory is generally used for managing and configuring users.
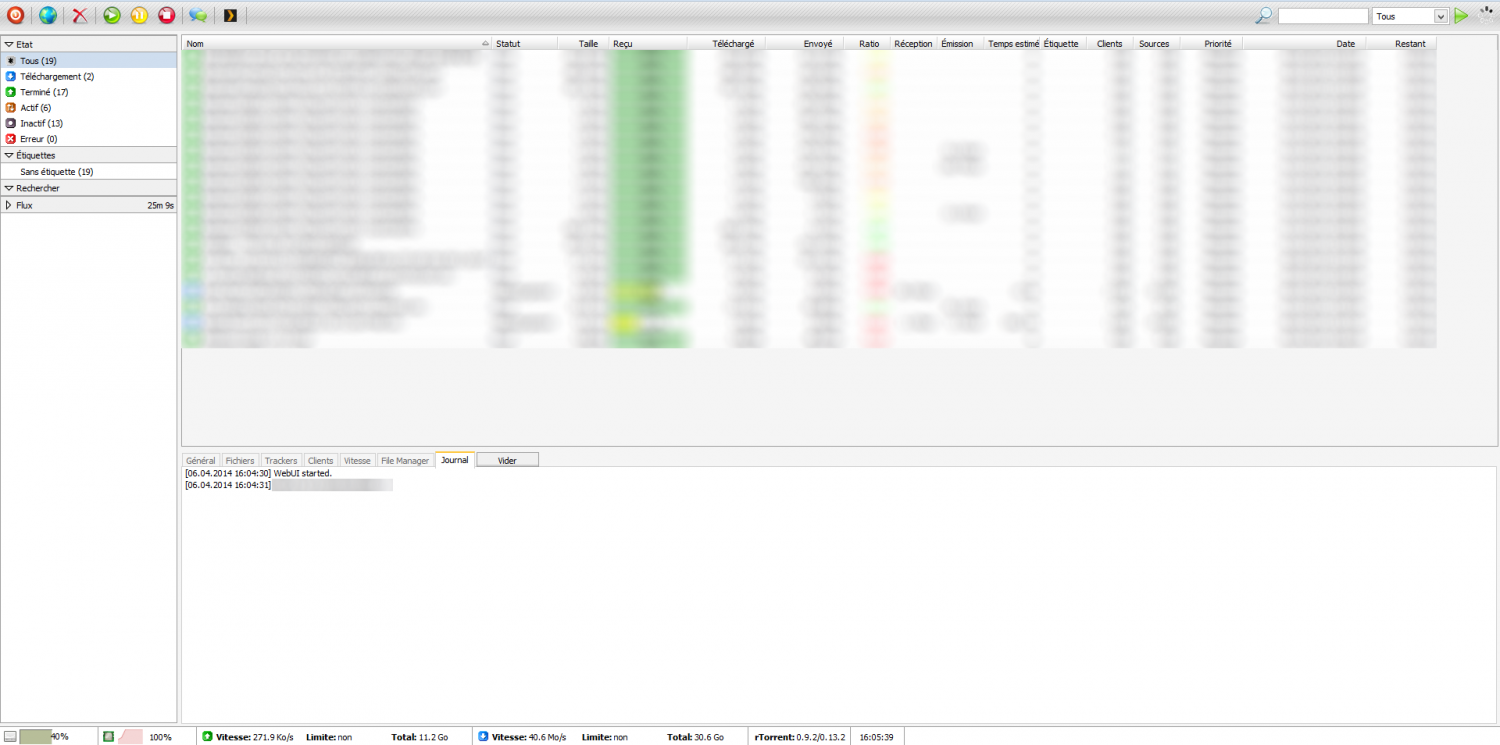
The ruTorrent interface looks like this:
Installing plugins
Head to ruTorrent's plugins directory:
cd /var/www/rutorrent/plugins
Then all that's left is to follow this pattern:
svn co http://rutorrent.googlecode.com/svn/trunk/plugins/PLUGIN_NAME
ruTorrent's plugins are available on the official wiki.
I recommend using plugins, especially the ones in this list, which are really interesting:
- Cookies: lets you store cookies from a third-party site.
- Diskspace: shows the current state of your partition, i.e. the home directory.
- Cpuload: shows the CPU load over a period of X seconds.
- Erasedata: adds "erase and delete data" to the right-click context menu.
- Traffic: lets you track a file's transfer rate over time once added.
- Getdir: lets you download the file as a direct download.
- Loginmgr: adds a logout button to the main menu.
- Extsearch: a whole set of new trackers become available in ruTorrent's search.
- Goip: lets you run a whois on a specific client (uploader/downloader).
- Noty: shows a small pop-up on your interface when a torrent is added.
There are a ton of other plugins available on the web, the best approach is still to develop your own.
Configuring your vhost
Vhosts are important, don't overlook them. Here are two versions (http and https):
- An http vhost:
ServerName my_domain.tld
   ServerAdmin webmaster@localhost
   DocumentRoot /var/www/

   Redirect permanent / https://my_domain.tld

   Options Indexes FollowSymLinks MultiViews
   AllowOverride None
   Order allow,deny
   allow from all

   ErrorLog /var/log/apache2/error.log
   LogLevel warn
   CustomLog /var/log/apache2/access.log combined
- A vhost secured with https:
ServerName my_domain.tld
  ServerAdmin webmaster@localhost
  DocumentRoot /var/www/rutorrent

  SSLEngine on
  SSLCertificateFile /etc/apache2/ssl/ssl.crt
  SSLCertificateKeyFile /etc/apache2/ssl/ssl.key

  Options Indexes FollowSymLinks MultiViews
   AllowOverride None
   Order allow,deny
   allow from all


  ErrorLog /var/log/apache2/error.log
   LogLevel warn
   CustomLog /var/log/apache2/access.log combined

   AuthType Digest
   AuthName "your_text"

   AuthDigestProvider file
   AuthUserFile /etc/apache2/passwords
   Require valid-user
   SetEnv R_ENV "/var/www/"
Don't forget to generate a self-signed certificate or use a free certificate from startcom.
Basic ruTorrent security
Your server can be exposed to anyone on the web, adding an htaccess is recommended.
The most practical option for this is Apache2's htdigest option:
htdigest /etc/apache2/passwords your_text ffonaissak
The command's result is saved in the passwords file.
You'll need to change the following value in your vhost (https):
AuthName "your_text"
When opening ruTorrent, you can then enter your login/password pair.
Configuring several users
It's possible to have several accounts on ruTorrent, and that's honestly great!
Apache2's SCGI configuration and ruTorrent's structure allow for multi–user setups.
We'll configure a second user in addition to the one already there.
- Add the second user with the htdigest command shown earlier.
- Add your various SCGI mounts so that rtorrent/ruTorrent can communicate.bash
nano /etc/apache2/apache2.conf
The SCGI mounts will be set at the end of the file, like this:bashSCGIMount /RPC2 127.0.0.1:5000 SCGIMount /RPC3 127.0.0.1:5001 servername localhost - Configure user number 2 in /var/www/rutorrent/conf/users/bash
mkdir user2 - Copy the "php" configuration file already present in /var/www/rutorrent/conf/bash
cp config.php users/user2
Make the ownership and permission changes as shown below:bashchown -R www-data:www-data /var/www/rutorrent/conf/users/ chmod -R 777 /var/www/rutorrent/conf/users/ - Edit the second user's configuration file and its variables:powershell
nano user/user1/config.php
   $scgi_port = 5001;
   $scgi_host = "127.0.0.1";
   $XMLRPCMountPoint = "/RPC3";
These are the "SCGI" and "RPCmount" mounts shown earlier in Apache2.
Keep in mind that every new user needs to have a personal directory with the "file.php".
Don't forget rTorrent needs to be configured, I'm not covering the BitTorrent client's configuration here.
Updating ruTorrent
The SVN system makes updating your ruTorrent interface very simple.
It's recommended to shut down the web server: (/etc/init.d/apache2 stop) to avoid a crash!
Then all you need to do is go to the root of your ruTorrent directory and run:
svn up
The update is in progress, wait for the following message:
Updated to revision 2471.
Once done, restart your web server:
/etc/init.d/apache2 start
That wraps up discovering ruTorrent, I invite you to head to the official website.
If you run into configuration issues with ruTorrent, feel free to leave a comment.
Conclusion
This ruTorrent configuration with Apache2 covers installing via SVN, managing plugins, setting up HTTP/HTTPS vhosts, securing access with digest authentication, as well as multi-user management via SCGI. This web interface makes using rTorrent much more accessible day to day, while remaining customizable thanks to its many plugins. Be sure to properly restrict access with htdigest, especially if the server is publicly exposed on the internet.