


Real-world use case
You want to host your own files rather than depend on a third-party cloud: here's how to install and configure OwnCloud 9.
OwnCloud
OwnCloud is a storage and file sharing service, available in two versions. In this article we'll use the community version. For this Cloud service to work, it needs:
- A web server: Apache2 and php5.
- A database server: MariaDB.
OwnCloud lets you keep control over your data, and everything can be linked to an LDAP server. Link sharing, inter-OwnCloud replication, and other features make OwnCloud one of the best alternatives* to giants like Google Drive, DropBox, or OneDrive, for example.
*There's also a fork of OwnCloud named NextCloud.
Installing the prerequisites:
We'll start by installing our packages, pair by pair:
apt-get install apache2 mariadb-server libapache2-mod-php5
apt-get install php5-gd php5-json php5-mysql php5-curl
apt-get install php5-intl php5-mcrypt php5-imagick
MariaDB
When installing maria-server, we had to create a root password to authenticate.
We'll use it to connect to the database:
mysql -u root -p
Let's create the OwnCloud database with the "owncloud" account and the password: "mypassword":
CREATE DATABASE IF NOT EXISTS owncloud;
GRANT ALL PRIVILEGES ON owncloud.* TO 'owncloud'@'localhost' IDENTIFIED BY 'mypassword';
Let's now exit MariaDB:
quit
We've configured our MariaDB database for OwnCloud (other compatible database servers exist).
Apache2
The web server needs to be changed:
nano /etc/apache2/sites-available/000-default.conf
We're going to change a line named DocumentRoot to:
<VirtualHost *:80>
        DocumentRoot /var/www/owncloud
</VirtualHost>
The default path our web server will point to will be in the owncloud folder.
Installing OwnCloud
Installing OwnCloud is very simple and doesn't require any special knowledge.
Let's download OwnCloud as a .zip:
wget https://download.owncloud.org/community/owncloud-9.1.4.zip
Unzip is a program to add to our Debian distribution:
apt-get install unzip
Let's unzip OwnCloud:
unzip owncloud-9.1.4.zip
We rename the directory:
mv owncloud-9.1.4 owncloud
Then let's copy it to the /var/www/ location:
cp -r owncloud /var/www/
We're going to give ownership of the owncloud directory to the www-data user and group:
chown -R www-data:www-data owncloud
From now on, our OwnCloud installation is done, and we'll move on to the configuration.
Configuring OwnCloud
To configure our OwnCloud, let's head to the server's IP address (e.g.: http://your\_ip).
We're going to provide the information needed to configure OwnCloud:
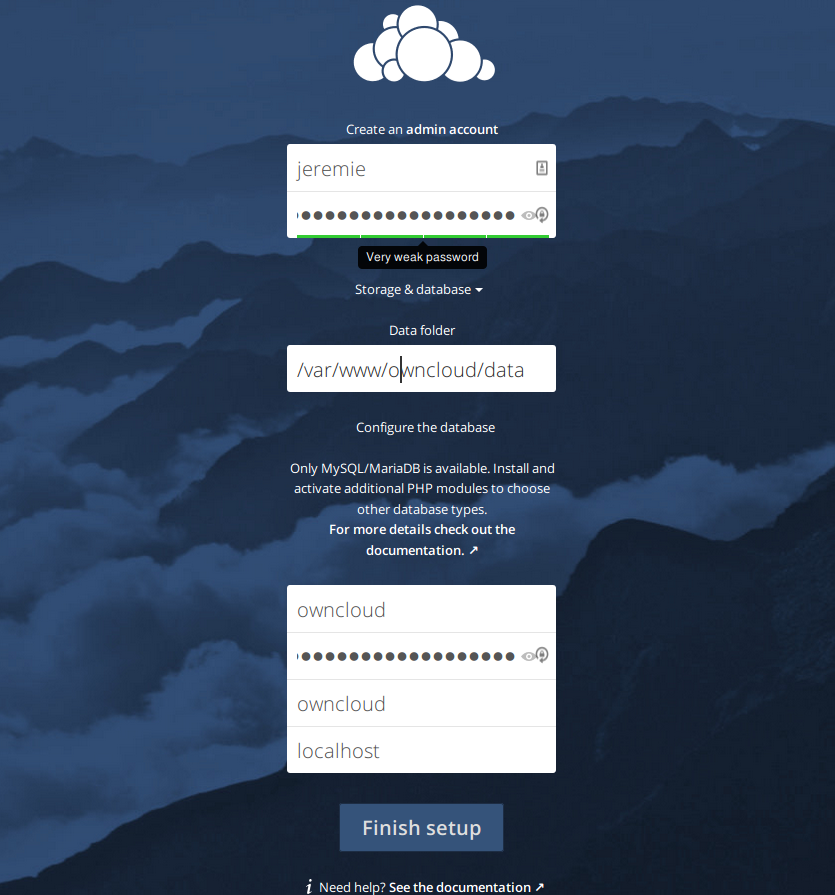
At the bottom, we find the database credentials created earlier.
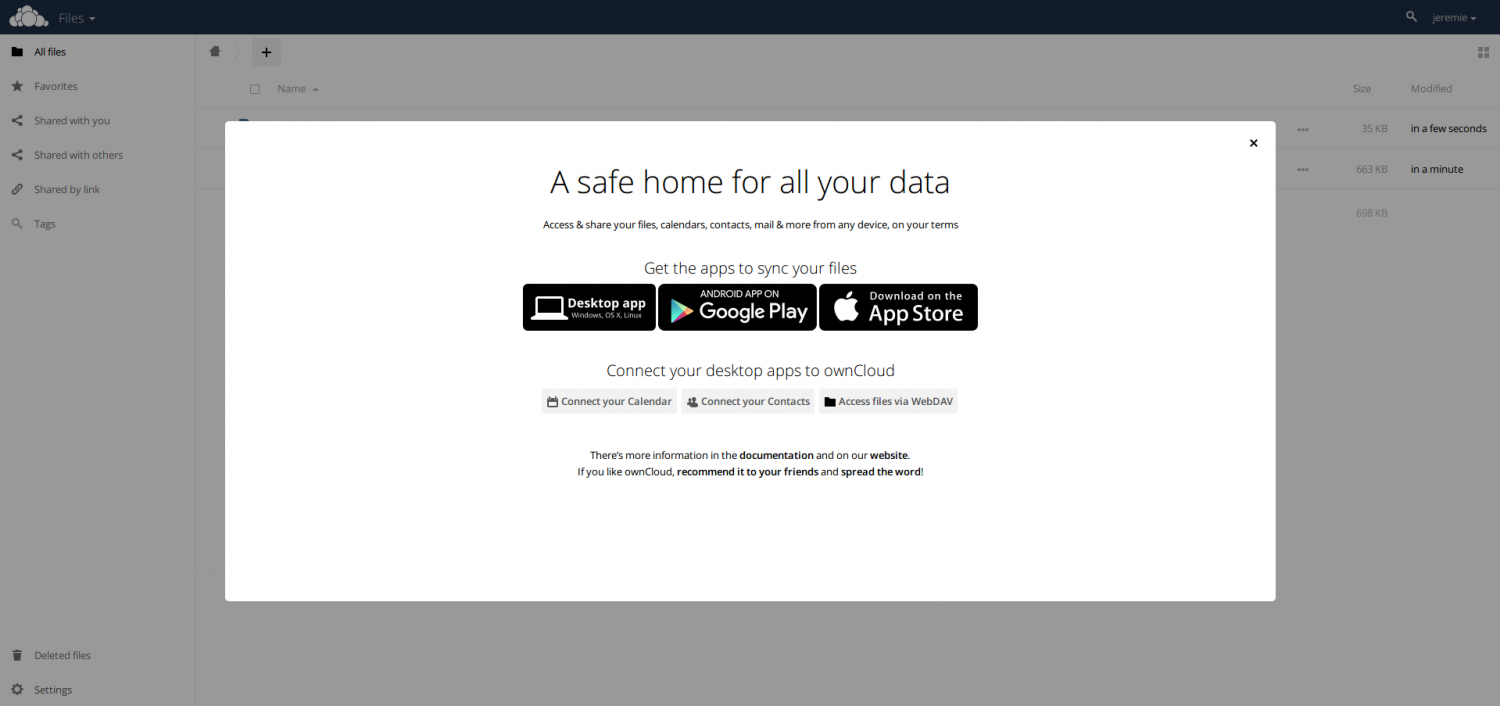
Once the fields are filled in, let's finish the installation and click finish setup to log in to OwnCloud:
Strengthening OwnCloud's security:
Right from the first login, let's head to the admin tab, at the top left of our username. Red lines appear, indicating certain issues:
- OwnCloud's data folder is, by default, in /var/www/owncloud/data, we need to move it.
- HTTPS access is strongly recommended to strengthen security and encrypt exchanges.
- We might also want to add caching for better performance.
We're going to resolve these red lines one by one:
- Let's move OwnCloud's data folder, for example to: /home/our_user/dataowncloud/:bash
mv /var/www/owncloud/data/ /home/our_user/dataowncloud
Let's not forget to restore read/write access permissions for the web server:bashchown -R www-data:www-data /home/our_user/dataowncloud
Then let's change OwnCloud's configuration:bashnano /var/www/owncloud/config/config.php
On the datadirectory line, change it like this:bash'datadirectory' => '/home/our_user/dataowncloud', - For SSL support on the web server, let's enable the a2enmod headers mode:bash
a2enmod headers
Let's edit Apache2's ssl file:bashnano /etc/apache2/sites-available/default-ssl.conf
Let's add between and this:bash<IfModule mod_headers.c> Header always set Strict-Transport-Security "max-age=15552000; includeSubDomains" </IfModule>
Let's also edit the non-ssl (default) file:bashnano /etc/apache2/sites-available/000-default.conf
Let's add a redirect between and this:bashRedirect permanent / https://external_dns_name/
Then let's edit the following file:bashnano /var/www/owncloud/config/config.php
Let's add the following line to it:bash'forcessl' => true, - To enable caching, let's install a specific PHP module:bash
apt-get install php-apc
Once again, let's change OwnCloud's configuration:bashnano /var/www/owncloud/config/config.php
Let's add the following line:bash'memcache.local' => 'OCMemcacheAPC'
Let's restart the Apache2 server:bashservice apache2 restart
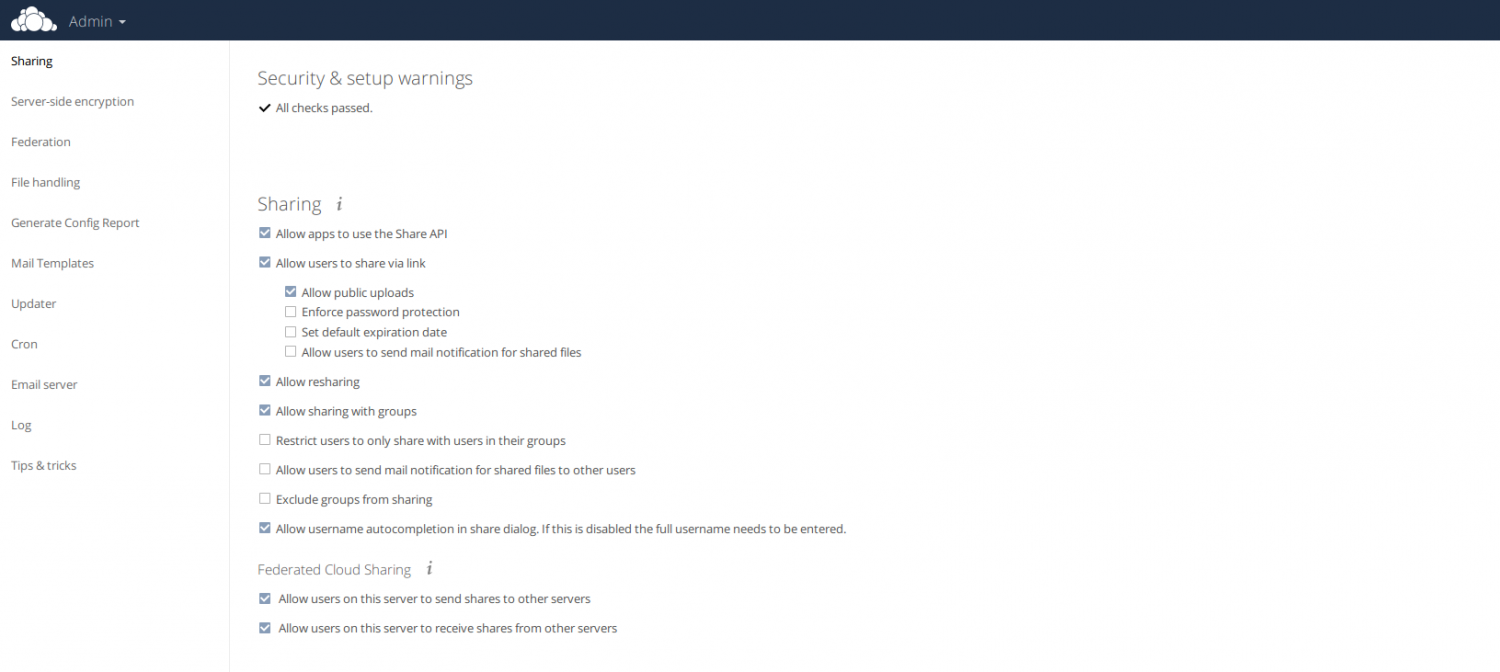
The result appears in admin as "All checks passed":
OwnCloud and LDAP connection
External accounts on an LDAP server can be connected to OwnCloud.
In the following example, I use Zimbra's LDAP server, which contains mail accounts.
To start, let's head to the second menu at the top left, under Apps:
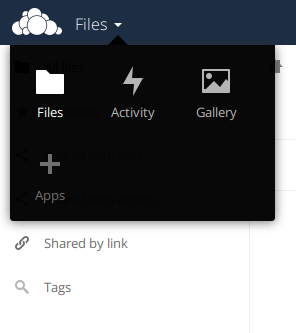
Then, under the productivity tab, we find the addon: LDAP user and group backend 0.9.0
But for it to work, we'll need to install the php5-ldap package:
apt-get install php5-ldap
Adding the feature to the Apache2 server:
a2enmod ldap
A restart of the web server is needed:
/etc/init.d/apache2 restart
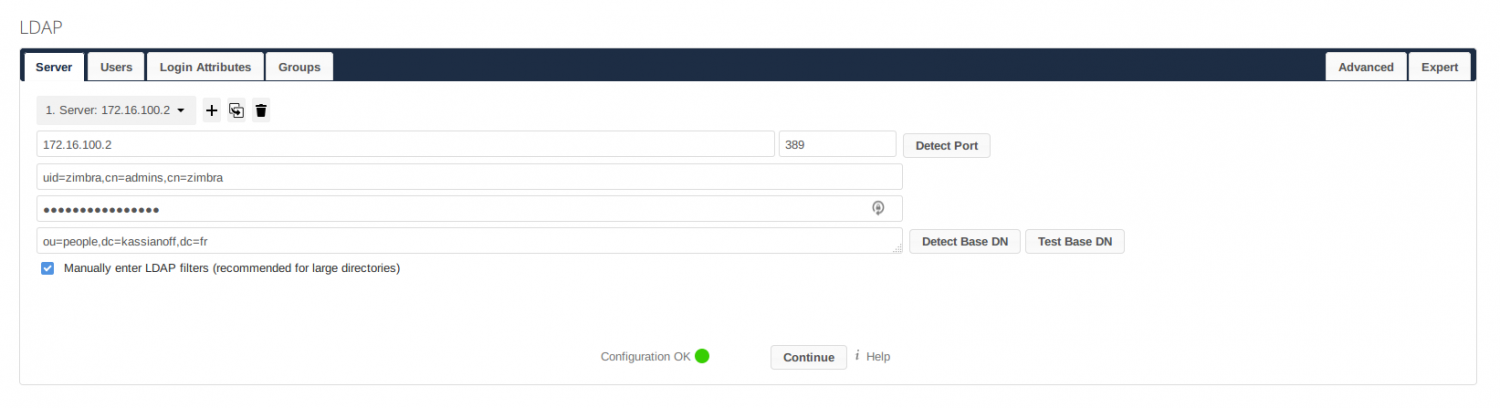
Let's select enable on our OwnCloud addon, then the configuration is fairly simple:
  Server:         your server ip
  Port:           389
  Bind DN:        uid=zimbra,cn=admins,cn=zimbra
  Bind Password:  your_ldap_password
  Users DN:       ou=people,dc=kassianoff,dc=fr
The result should look similar to an established connection:
I invite you to read the article for more information on LDAP and hierarchy with Zimbra.
Now let's head to the Users tab of our OwnCloud server, where all our users are imported.
We've finished installing and configuring OwnCloud.