


Real-world use case
You need to simulate a network topology before deploying it to production: here's how to install and configure GNS3 on Debian 8.
GNS3
GNS3 software lets you simulate a networked environment. Originally a tool created for learning to emulate Cisco IOS, it has become compatible over time with: QEMU, VirtualBox, and VMware. Connecting VMs is thus possible. In this article, we install GNS3 on Debian 8, and the server side will be managed by GNS3 VM under VMware Workstation 10. Finally, a QEMU image of VyOS-1.1.7 (stored on the server) will be deployed in the GNS3-GUI and will have an outbound (WAN) link via my Linux host.
Installing GNS3
We use the following repositories in source.list:
nano /etc/apt/sources.list
We add the repositories pointing to Ubuntu:
deb http://ppa.launchpad.net/gns3/ppa/ubuntu trusty main
deb-src http://ppa.launchpad.net/gns3/ppa/ubuntu trusty main
Then, we just need to add the repository key and run an update to proceed with installing GNS3:
apt-key adv --keyserver keyserver.ubuntu.com --recv-keys A2E3EF7B
apt-get update
apt-get install gns3-gui

Reading package lists... Done
Building dependency tree
Reading state information... Done
The following extra packages will be installed:
  cpulimit dynamips gns3-server ipxe-qemu libaio1 libc-ares2 libfdt1 libiscsi2 libqt5clucene5 libqt5dbus5 libqt5designer5 libqt5gui5 libqt5help5 libqt5network5 libqt5printsupport5
  libqt5svg5 libqt5test5 libqt5widgets5 libqt5xml5 librados2 librbd1 libseccomp2 libsmi2ldbl libspice-server1 libtcl8.6 libtk8.6 libvdeplug2 libvncserver0 libwireshark-data libwireshark5
  libwiretap4 libwsutil4 libxcb-render-util0 libxen-4.4 libxenstore3.0 python3-pyqt5 python3-pyqt5.qtsvg qemu-kvm qemu-system-arm qemu-system-common qemu-system-x86 qemu-utils seabios
  sharutils tcl tcl8.6 tk tk8.6 ubridge vpcs wireshark wireshark-common x11vnc x11vnc-data xvfb
Suggested packages:
  gns3 snmp-mibs-downloader wireshark-doc python3-pyqt5-dbg samba vde2 sgabios ovmf debootstrap tcl-tclreadline
The following NEW packages will be installed:
  cpulimit dynamips gns3-gui gns3-server ipxe-qemu libaio1 libc-ares2 libfdt1 libiscsi2 libqt5clucene5 libqt5dbus5 libqt5designer5 libqt5gui5 libqt5help5 libqt5network5 libqt5printsupport5
  libqt5svg5 libqt5test5 libqt5widgets5 libqt5xml5 librados2 librbd1 libseccomp2 libsmi2ldbl libspice-server1 libtcl8.6 libtk8.6 libvdeplug2 libvncserver0 libwireshark-data libwireshark5
  libwiretap4 libwsutil4 libxcb-render-util0 libxen-4.4 libxenstore3.0 python3-pyqt5 python3-pyqt5.qtsvg qemu-kvm qemu-system-arm qemu-system-common qemu-system-x86 qemu-utils seabios
  sharutils tcl tcl8.6 tk tk8.6 ubridge vpcs wireshark wireshark-common x11vnc x11vnc-data xvfb
0 upgraded, 56 newly installed, 0 to remove and 2 not upgraded.
Need to get 52.4 MB of archives.
After this operation, 240 MB of additional disk space will be used.
Do you want to continue? [Y/n] Y
WARNING: The following packages cannot be authenticated!
  vpcs dynamips ubridge gns3-server gns3-gui
Install these packages without verification? [y/N] y
When installing gns3-gui, it will also install gns3-server (local by default).
GNS3: adding an entry in the Cinnamon menu
In my case, I use a Debian 8 desktop, here's how I created an entry in the Cinnamon menu:
touch /usr/share/applications/gns3.desktop
The basic information needed to launch it is:
[Desktop Entry]
Encoding=UTF-8
ffExec=/usr/bin/gns3
Icon=/home/jeremie/Images/ico/gns3.png
Type=Application
Terminal=false
Comment=GNS3 1.5.0
Name=gns3
GenericName=gns3
StartupNotify=false
Restart Cinnamon in your user session:
cinnamon --replace
Configuring GNS3-VM under VMware Workstation
From the Cinnamon menu, launch GNS3, or use the gns3 command in a terminal:
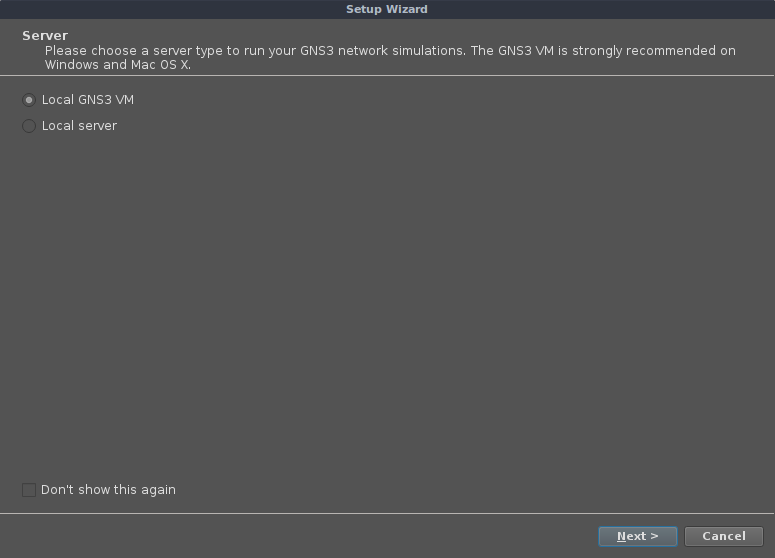
GNS3 asks you to choose between two server types, but in reality there are three:
- Local GNS3 VM: a server in the form of a VM running an Ubuntu distribution (VirtualBox or Workstation).
- Local Server: here the host itself acts as the server (default option).
- Remote Server: in this case, your GNS3 server is remote (for example, on a VPS or external VM).
We'll select Local GNS3 VM a little later; for now, here are the steps to follow:
- Download the template (ova) for VMware Workstation 1.5 at: https://github.com/GNS3/gns3-gui/releases
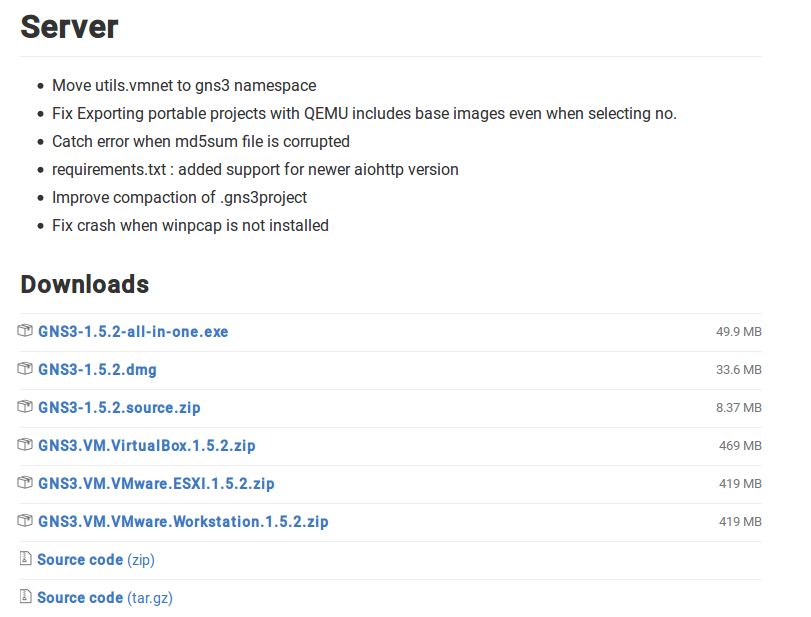
- Import it into Workstation, switching virtual network card 1 to bridge mode. Don't start the VM right away, since GNS3 will start it for us later.
We're now ready to continue with the quick configuration step by clicking next:
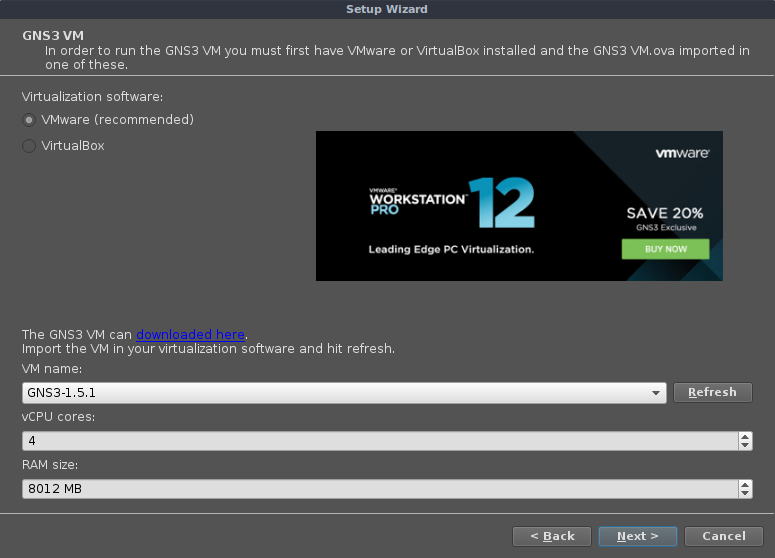
The vCPU and memory configuration is overkill, I recommend changing it to 2 vCPUs and 2048 MB of memory.
The next step is to edit GNS3-GUI in edit/preferences/, then Server, where you enable the selection of VMware and the GNS3 VM:
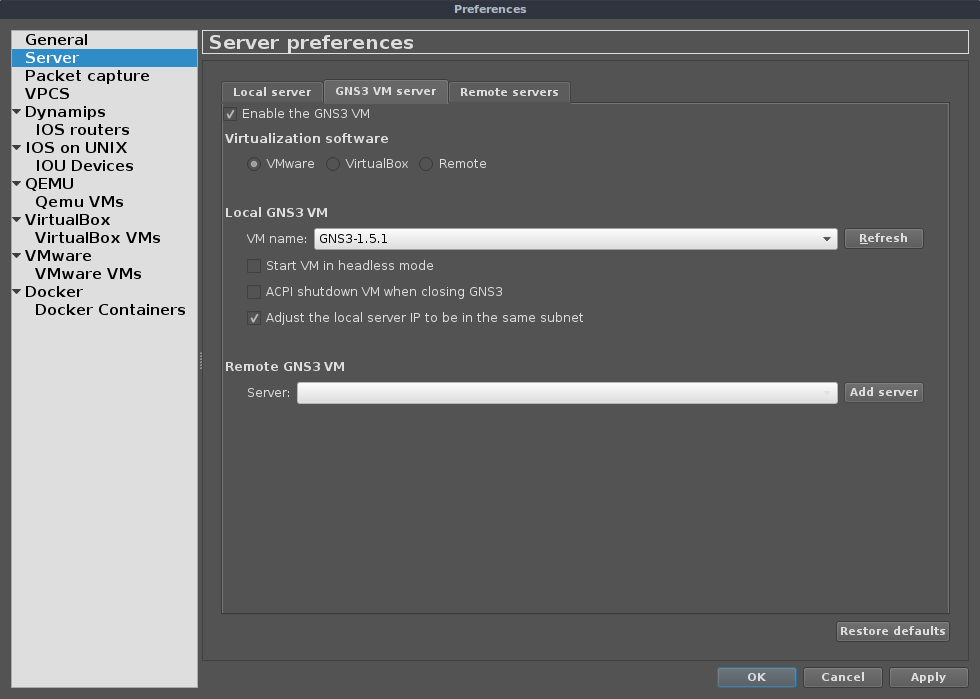
Apply the changes, restart GNS3-GUI, and now your GNS3-VM launches automatically: on the VM's console screen, an IP appears (if you're using DHCP).
You can now import certain types of images from the interface: http://gns3vmIP:3080/upload
How do you import an appliance in GNS3?
The GNS3 project provides a marketplace offering preconfigured appliances. So we'll import the VyOS appliance version 1.1.7, running under QEMU on the server via GNS3-GUI. Head to the following link, and download the configuration file at the top left, Download Template:
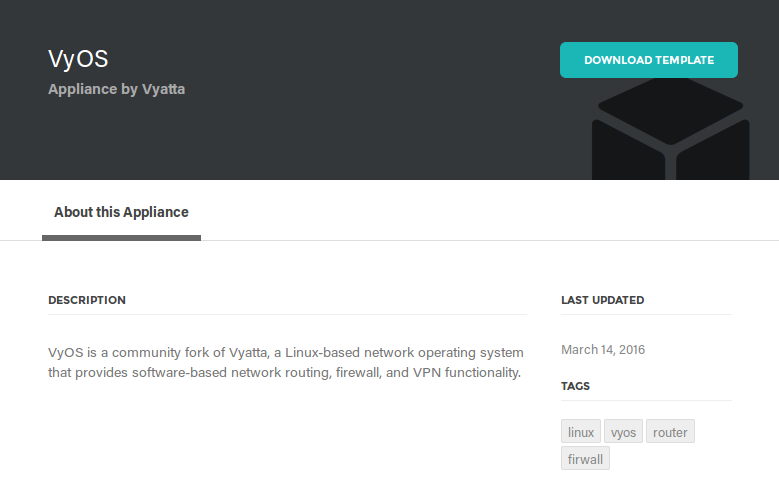
On top of that, all the configuration files are available here. To continue, you'll need to:
- Run GNS3-GUI.
- Import the file from: Files/import Appliance.
- Select the previously downloaded file.
The following screenshots appear:
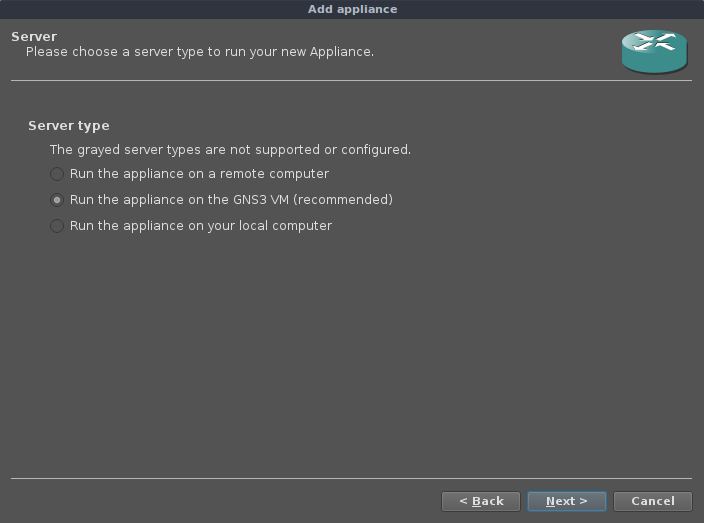
If elements are missing, use the Download button that appears at the bottom left, then:
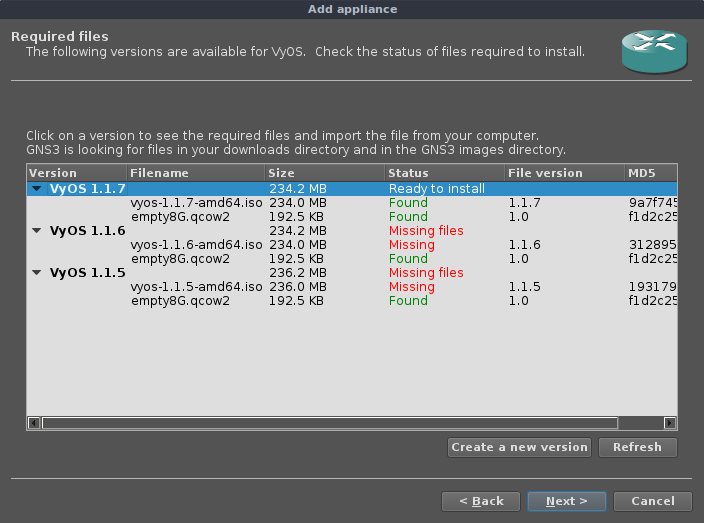
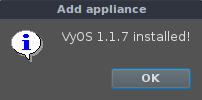
A popup appears, confirming the installation of VyOS with the installation information. Once the confirmation steps are validated, here's the result:
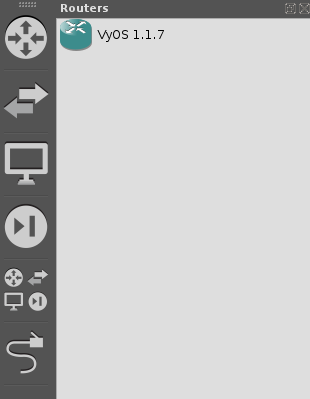
The VyOS template is directly accessible in GNS3-GUI from the left-hand Routers panel:
The disk image (qcow2) as well as the ISO image are present in the /opt/gns3/images directory of the GNS3 VM, and the project files are present on my machine's host at /home/jeremie/GNS3/projects. We're now ready to create our first project with GNS3.
Simulating a test in GNS3 with VyOS
We'll give VyOS access to the Internet via a device shaped like a cloud (Cloud). The outbound WAN gateway (cloud) will be connected to our VyOS router. The only requirement concerns using a Switch between: the Cloud and our VyOS router. Be careful, they can't be directly connected due to a QEMU limitation.
Here's how to proceed:
Add the Cloud and edit it, right-click on configure, then add the eth0 card:
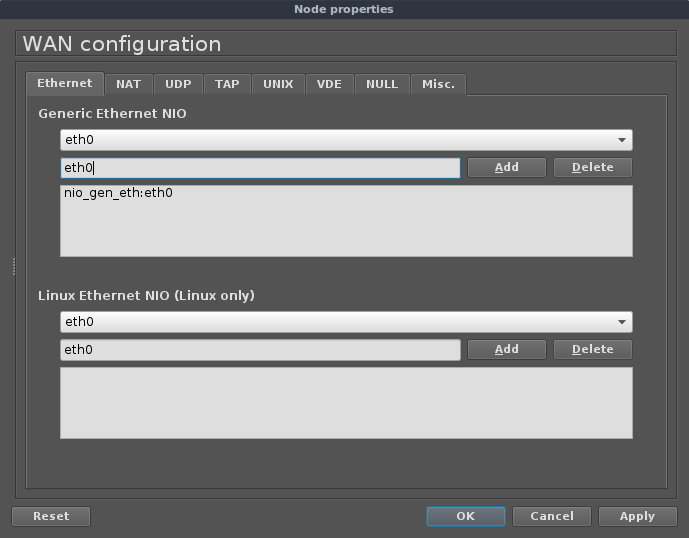
Once done, add an Ethernet switch in the Switch section.
Then, deploy one or two VyOS routers.
Wire everything together while powered off, like this:
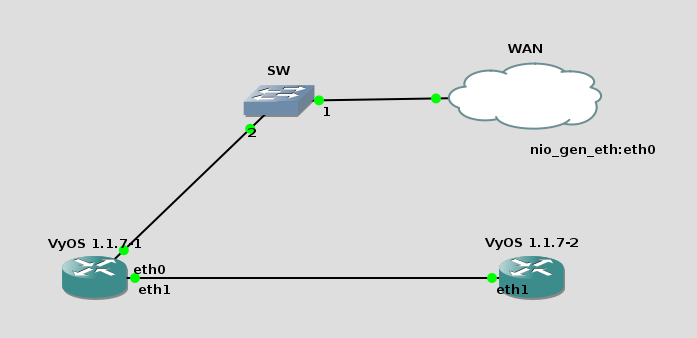
Then all you need to do is configure your routers to reach the WAN of our host.
We've now completed installing and configuring GNS3, there's also so-called remote deployment onto a remote server, which I plan to use soon, securing it with a VPN link or with SSL.